8: Creating the back face of the 8 ball
Before we can consider the transition animation, we need to have something to transition to.
Creating the images
I created the result images in Figma, creating a few separate layers that would be used later when animating.
- The first would be the circle that is the window into the ball.
- The next is the triangle that contains the result text.
- And finally, the last would be the text itself.
I added in the result images, and as with all other images, centered them using the same CSS (see Tutorial 2).
I set the appropriate heights so that it looked like the correct scaling in relation to the ball.
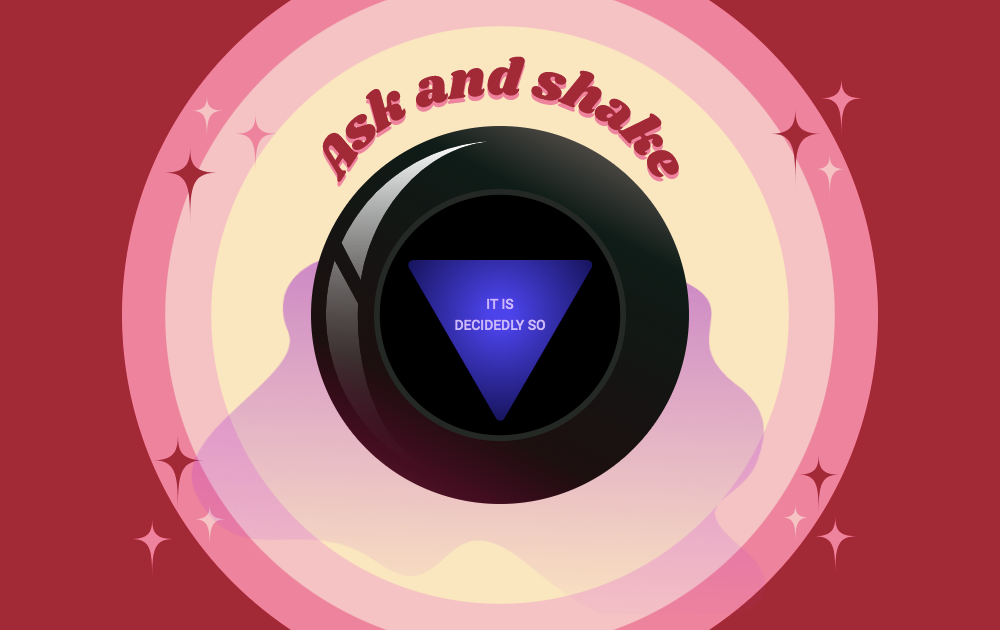
For the result text, due to it being a randomised result and will also be displayed on a variety of different sized viewports, I decided to use actual text to have an easier control over changing the text, but also setting the font size.
After adding all of the above, this resulted in the below: